Super Stay At Home Mommy!

Adventures in the life of a stay at home wife and mom

Elsa Dress!!

Elsa Dress Collage

I’m BAAAAACCCCKKKKK

Sigh, I don’t know what is going on with me! I WILL get back into blogging…. This is step one.

Anyway– My most recent project that I wanted to share with you all was this beautiful Elsa dress for my daughter

Elsa Dress 3

Not only was it a pretty quick and easy sew, the pattern was FREE! This thrifty mom loves free!! Get it from Peek-A-Boo pattern shop, HERE!

Elsa dress 2

Using my Joann’s coupons, I raided their section of Frozen fabric (yes, there is an entire section of it at my store). We also recently got a fabric section in our Walmart that I took advantage of. All together, this dress cost a whopping $12!!!! So exciting! That’s cheaper than the lesser quality dresses you find at the store.

Elsa Dress1

My little Queen Linnaea is thrilled, and would live in it if I let her! Happy kid= happy mommy ❤

2 Comments »

Sewing Room Organization

Hello!! It’s been a while! Life with a (colicky) baby and a 2 year old can sure get hectic. I swear the time flies by faster than I can keep track of. I certainly doesn’t feel like it’s been over 2 months since I last posted, but it has!!

Anyways, in my little bit of spare time, I have been focusing on organizing my little sewing area so that I can get back to doing what I love- creating cute kids clothes! I thought I’d share some of my tips and methods to organizing everything in a small space.

Fabric storage:

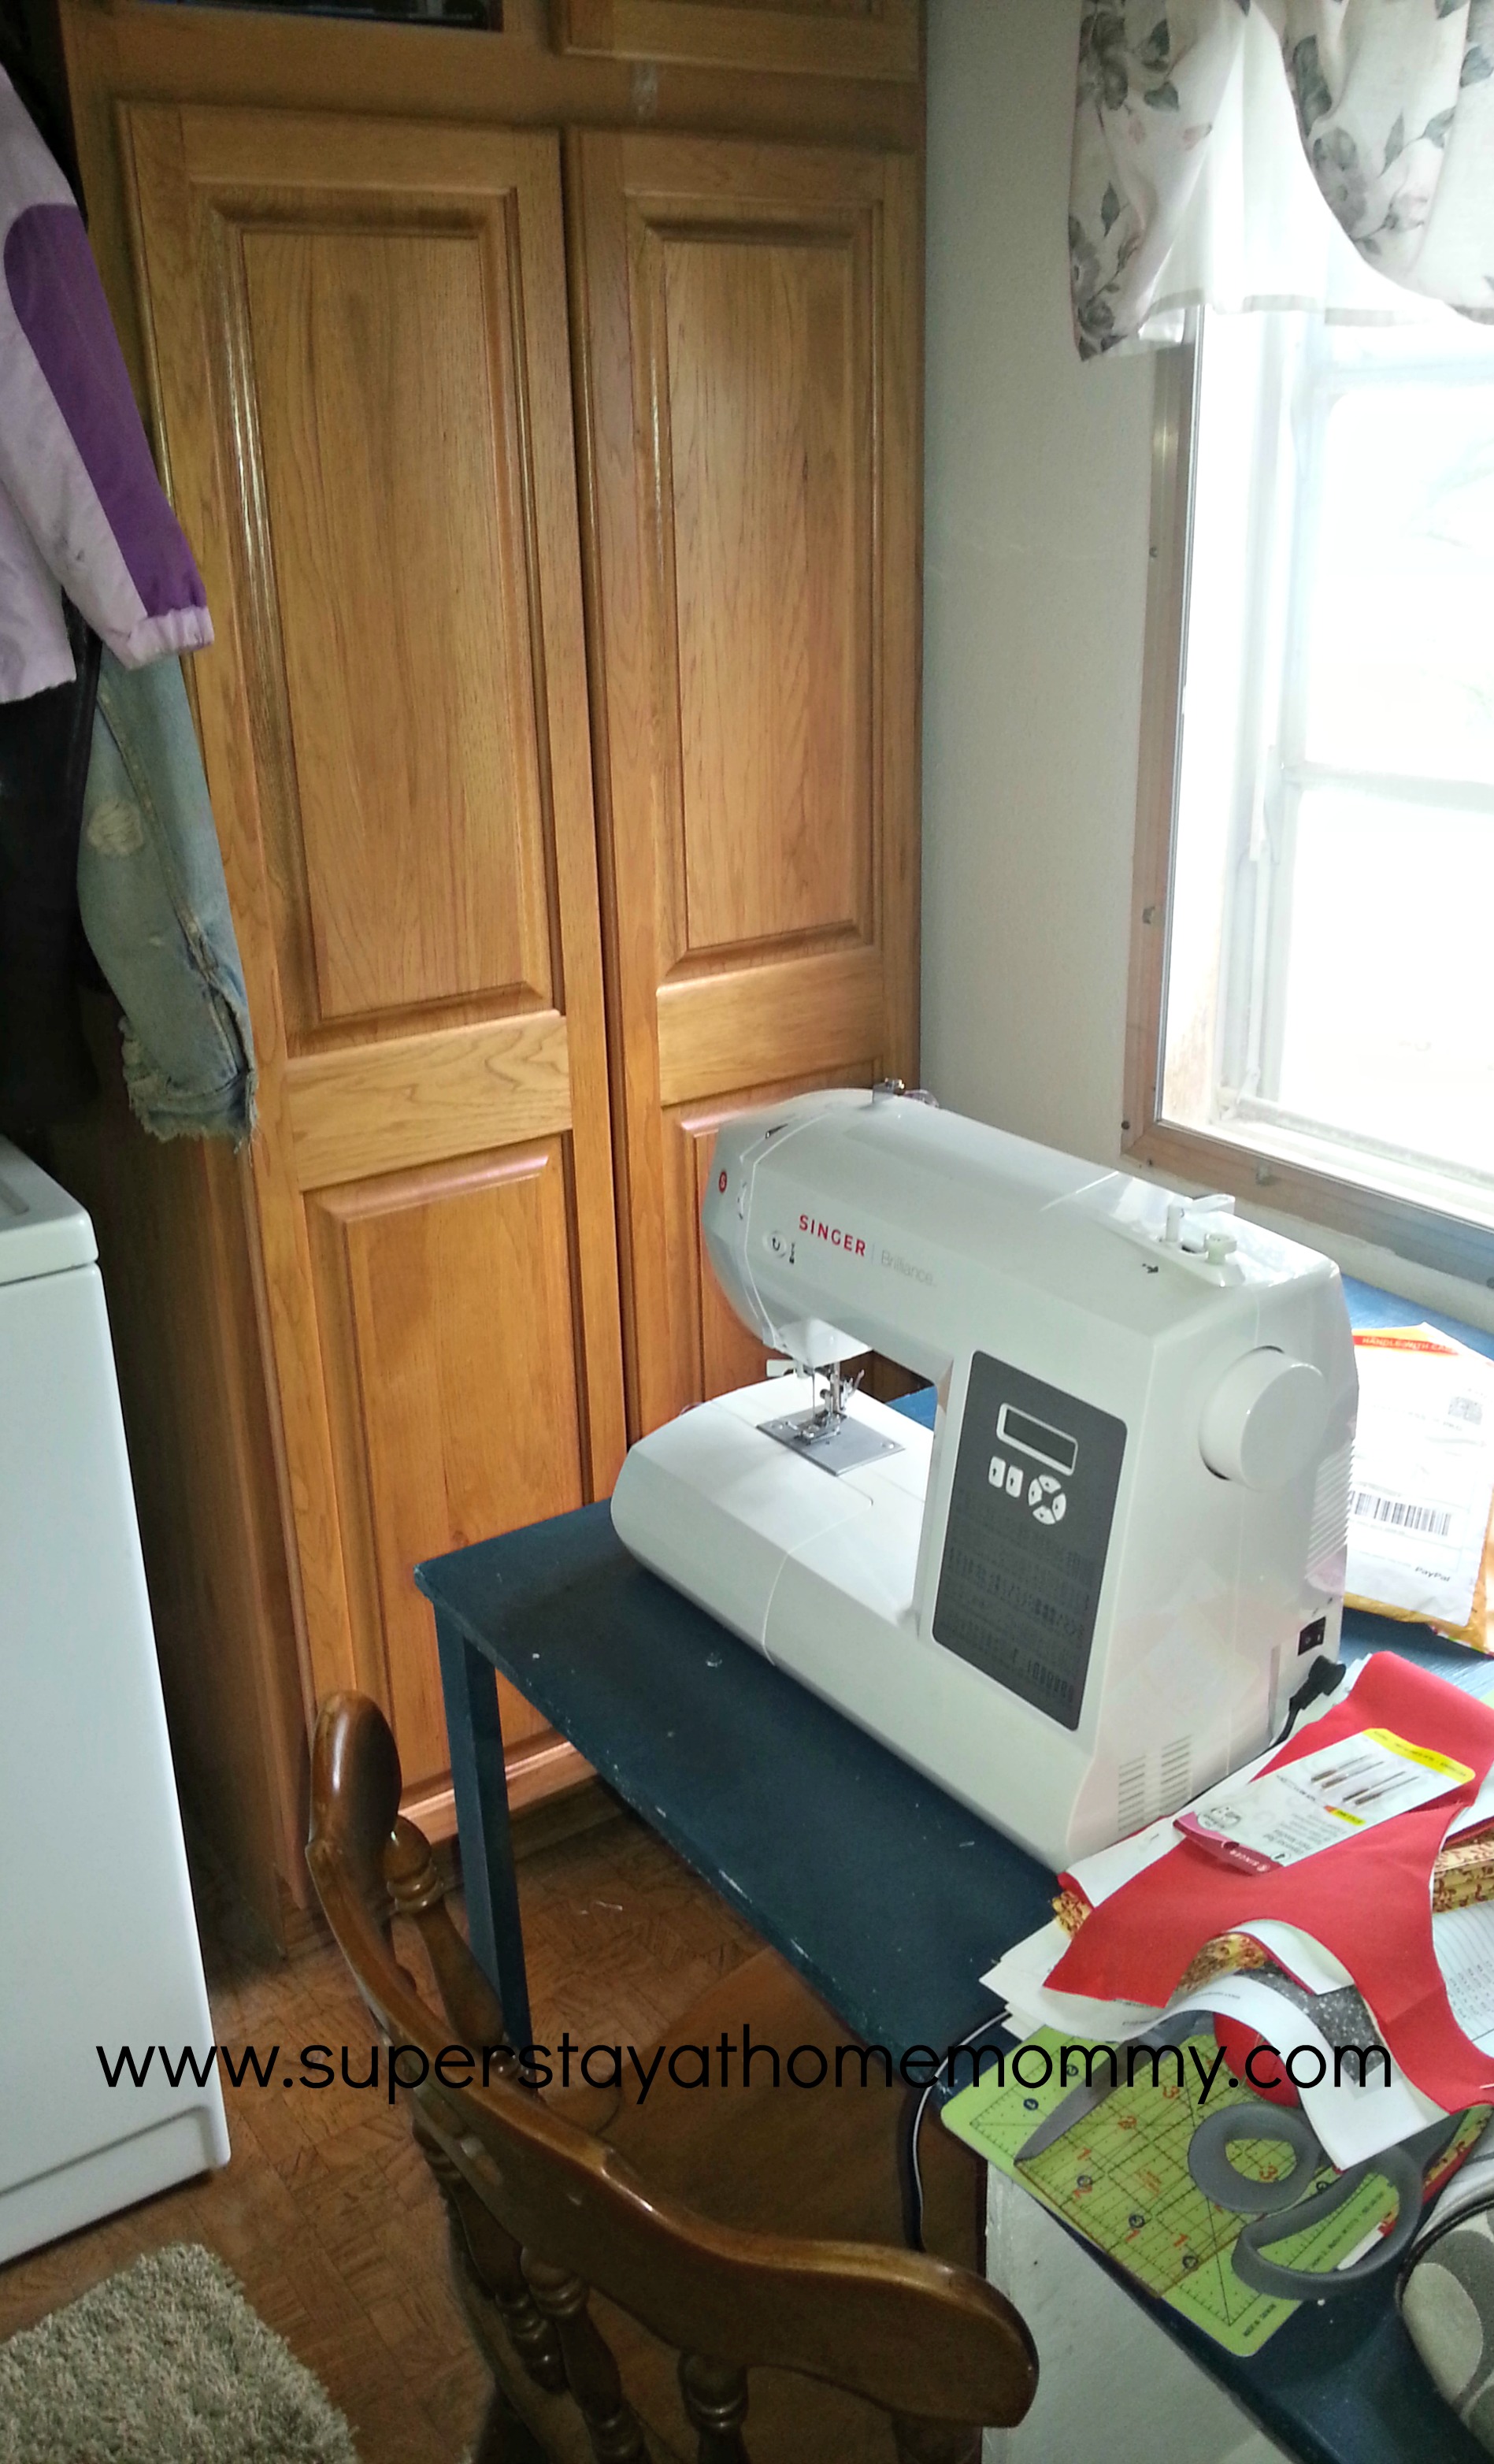
I have this cabinet in my sewing room (Excuse the mess on my sewing table…) — sewing room

And here’s an idea of what it looked like before I got to work–

1052289_10151679974470606_969457464_o

YIKES!!! I had to get organized… I just can’t work in a cluttered space.

So, first things first, I bought some shelves to place in the cabinet. I decided to use THIS method to fold my fabric to display it in a way that I could see everything that I have to work with. It makes it SO much easier to pick and choose fabrics for each project.

Here’s what it looks like now:

sewing room 2

SO much better. (And LOOK, my ironing board tucks right in there too!) I was so overwhelmed with how it looked before But look at it now… makes me smile 🙂 (Yes, I am a total dork, lol. Fabric brings me joy! Just ask my husband and our bank account….)

Pattern storage:

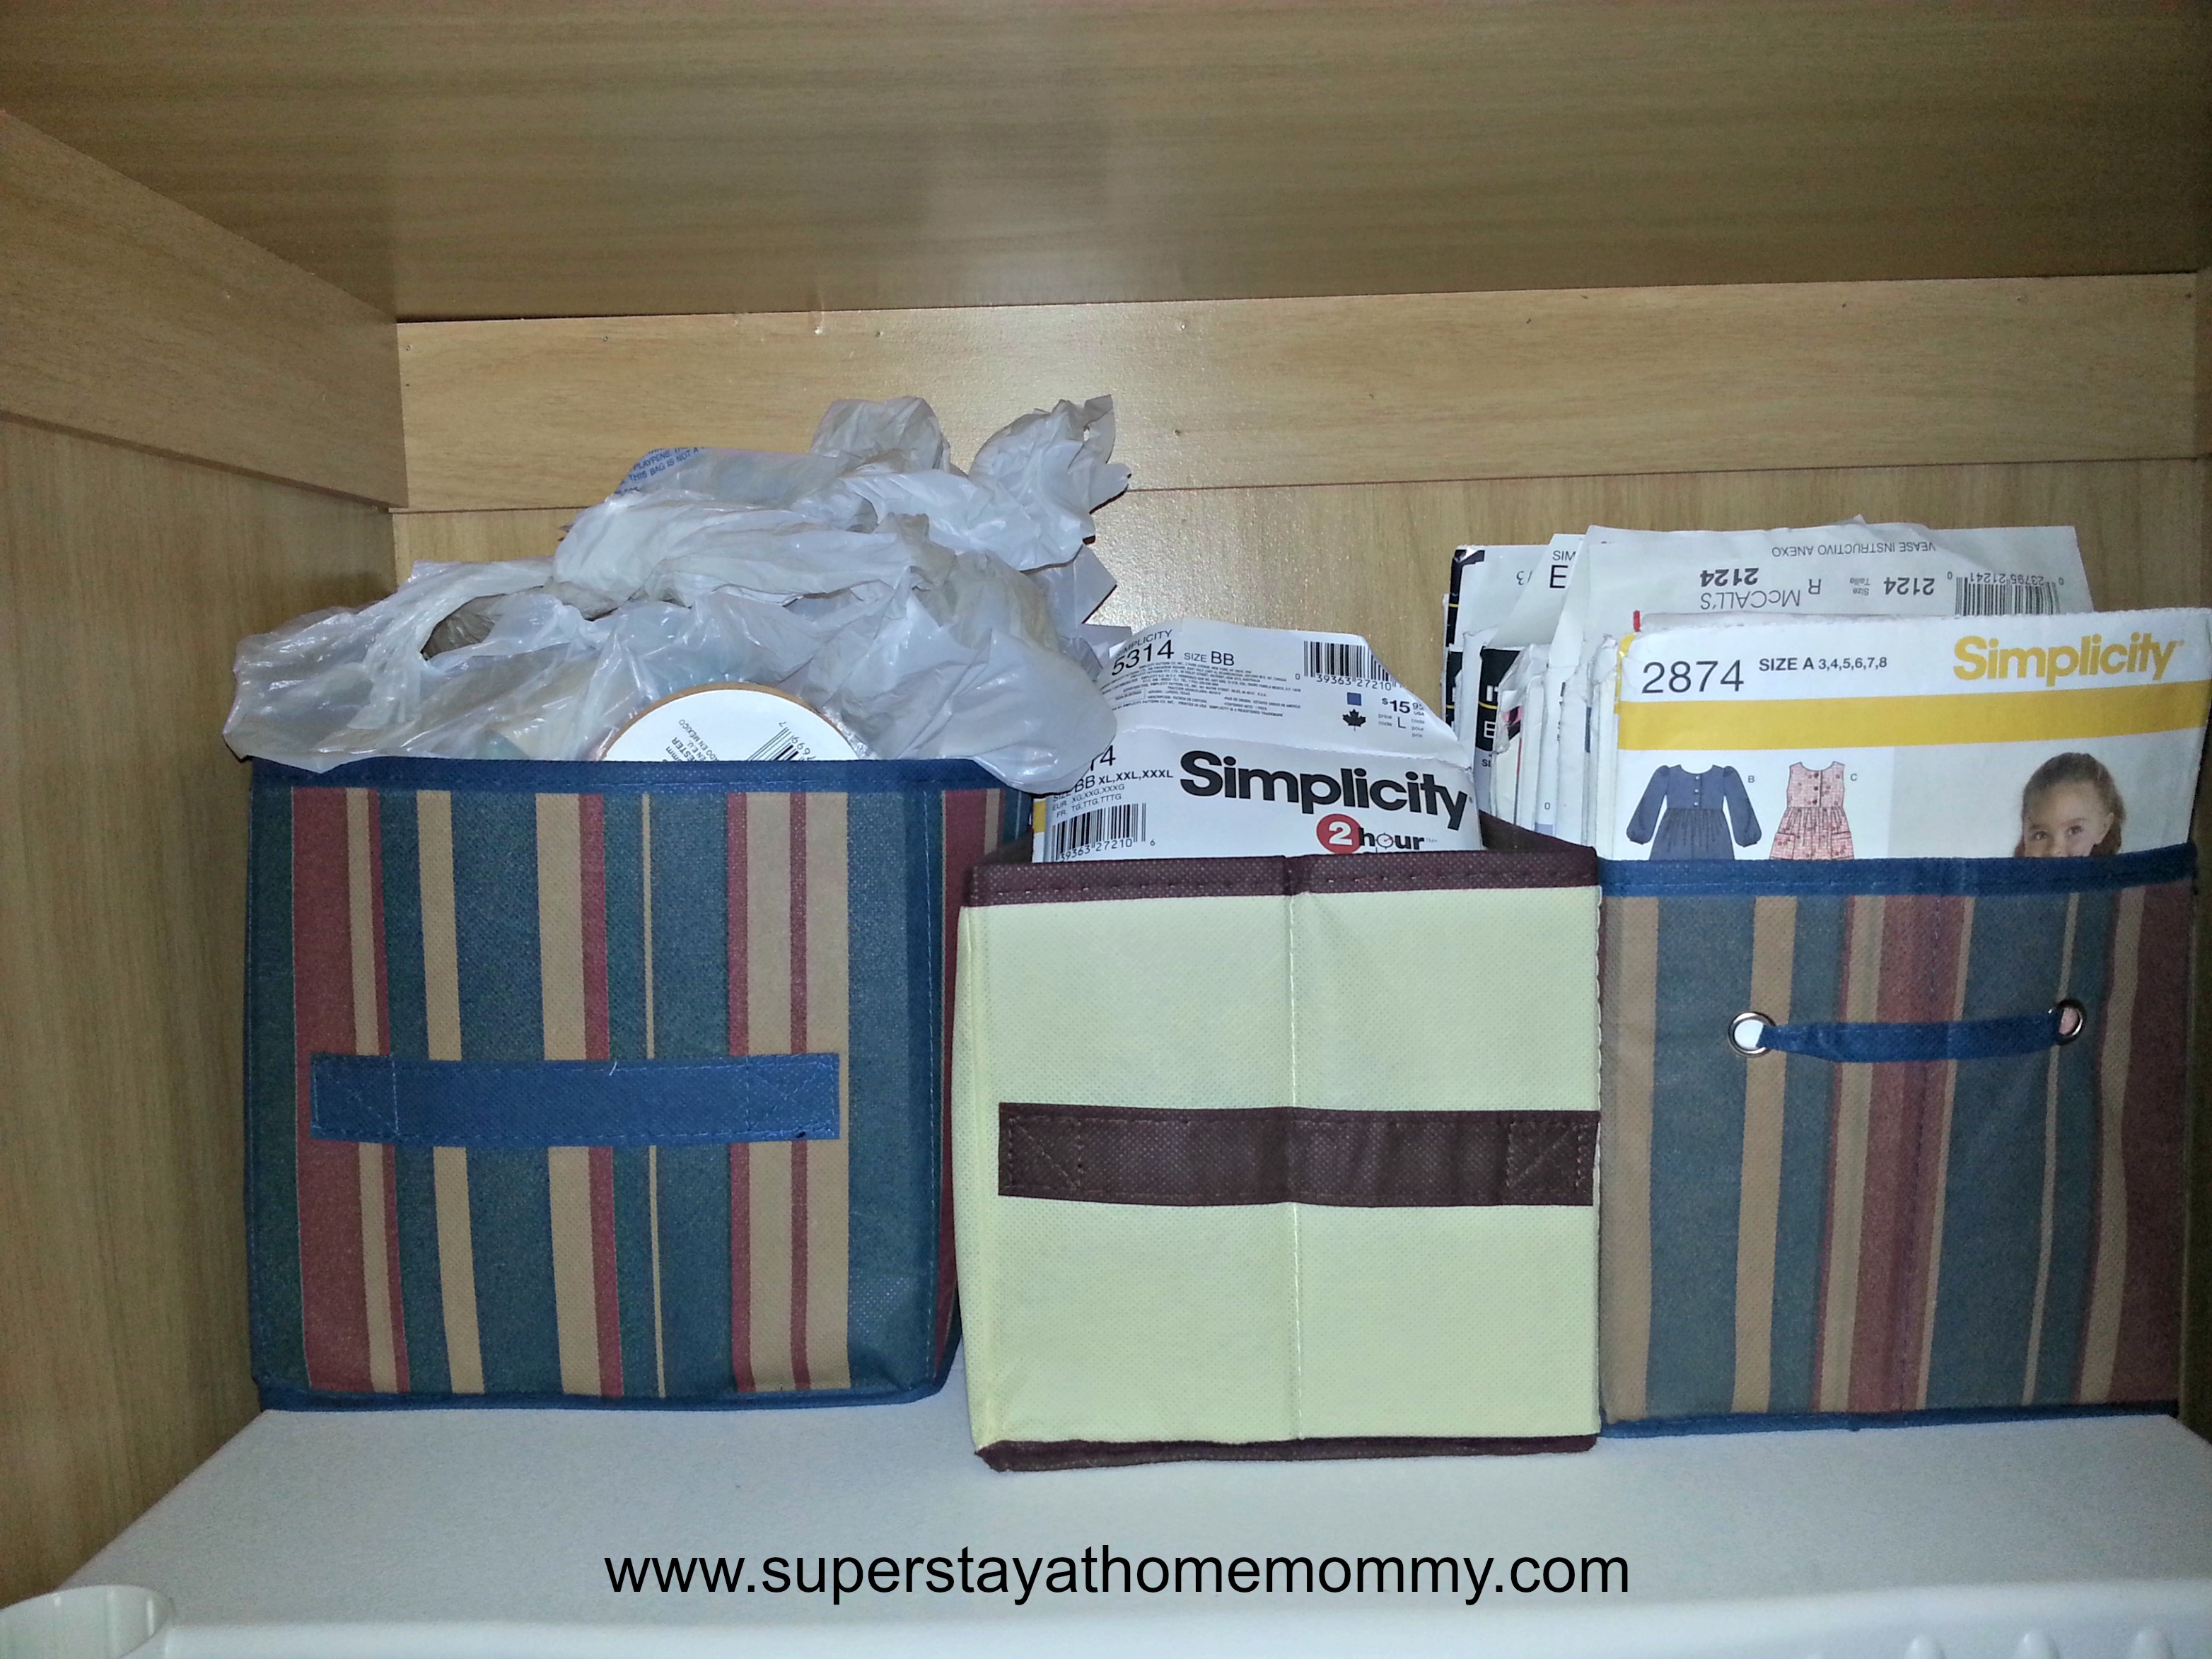
I have a couple different methods for storing patterns. The first are these lovely storage cubes that I found at the Dollar Store. They slide right on the top shelf and are the perfect fit for my paper patterns:

sewing room 3(Don’t mind the bin on the left- it’s filled with ribbon and trim…)

The other problem I ran into was how to store my PDF patterns that I’ve printed. This is still a work in progress, but I’ll explain what I’m working on doing. I bought a large binder and a bunch of plastic pocket protectors. I printed the first page (usually has a picture) of each pattern. Place each of these pages in a paper protector, and then slide your pattern piece (folded neatly) in behind them. This way, I can thumb through my patterns and see exactly what I have and have the pieces organized. Because otherwise, they can become quite the mess!

Also– I don’t bother printing up the millions of pages of instructions anymore. I downloaded Dropbox on my computer and on my phone, and I simply “drop” the instructions into Dropbox on my computer, and then I can read them on my phone as I sew. Huge paper saver!!! (And if you don’t already have Dropbox, get it! I love this program for more than just patterns!!)

Notion storage:

I have a couple different methods for storing notions. First, I have one of THESE drawers. It is perfect for fabric scraps, little containers of buttons, safety pins, etc… I keep all sorts of little odds and ends in there.

Then, back to my little cabinet, I placed this on the inside of one of the doors (another great dollar store find, I think I will probably grab more to put on the other door too!)

sewing room 4

It’s perfect for my scissors, rotary cutter, needles, zippers, bias tape, elastic, you name it! And all those little packages are organized and out of the way. How handy is that!

So, there you have it, a few little secrets to organizing a small space. It’s still a work in progress, so PLEASE send me your ideas!  I’d love to see more!! And, as always, have fun!


sewing room organization

2 Comments »

From Trash to Treasure!

Recently, I snagged a couple little chairs and table on Craigslist for $5. I was looking for a little place for Linnaea to sit down and color, and this was perfect! There was just one thing wrong… The chairs were covered in cartoon characters (Dora and Spongebob, which we don’t watch here), and the table had a picture of a princess and was covered in scratches. Since they were going to go in our living room (the room Linnaea has officially taken over as her playroom), I needed them to look more presentable. So, I decided the easiest way to go about doing that was priming and painting the whole set. This ended up not costing me a penny! How did I do that, you might ask? Well, we had a little primer left over from a previous project. For the paint, I went to Ace Hardware on a weekend when they were offering a free quart! They do this occasionally, so keep an eye out and grab a quart next time you see the deal going on! You never know when you’re going to need some paint!

Here’s some before and after pics, I am quite pleased with how they turned out!

Before.... Even if we wanted to, we just couldn't leave the chairs this way. Linnaaea was terrified of the giant Spongebob eyes staring at her!

During... After a couple coats of primer

After! Her table and chairs set up in her little corner of the world 🙂 Total cost- $5! In researching online, I found that I saved anywhere from $45 to $100! (Depending on the set of table and chairs you get). Keep an eye out for deals, it pays off!

Leave a comment »

Quiet Books!

I am so excited about this post! I have been working on 2 quiet books, one for my daughter and one for my nephew, for about 2 weeks now. They are time consuming, but SO worth it! I love how they turned out, and can’t wait to see what you guys make too.

I found the design, templates, and supplies list at Serving Pink Lemonade. She’s got it all organized, and makes it easy for you to make one too. I did make a few changes to some of her templates, and I’ll show you below what I added…..

Ok, I didn't actually change this one, but it is by far my favorite! The petals have velcro so kids can move them around and learn counting. Then, the little pot that it's in is actually a pocket to hold the petals. So cute, right!

"Serving Pink Lemonade's" design is actually a cute ballet slipper. I had originally planned on doing the ballet slipper for Linnaea's book, and a tennis shoe for my nephew's book. I decided I actually liked the tennis shoe a bit more than the slipper, so I did this for both books 🙂

The only thing I added to this one was a little personalization-- just put their initials on the mailboxes, which I thought was fun!

"Serving Pink Lemonade's" first page simply says "My Quiet Book", once again I wanted to add a little personalization so I did it this way. I also added the little pocket.

I had a great time creating this fun little books, and I hope you guys do too!!

Leave a comment »

Easter Fun!!

I have been trying to just post once or twice a week, but with Easter quickly approaching, I wanted to squeeze in one more post this week. I don’t know about you, but the I don’t like the idea of stuffing my kid full of Easter candy. Instead, I have created a list of fun ideas to fill Easter baskets with. I also compiled a list of crafts and activities that you can enjoy with your kiddos!

Easter Basket Goodies!

-Coloring Books

-Crayons

-Books

-Sidewalk Chalk (Learn how to make your own HERE)

– Finger Paint (Learn how to make your own HERE)

-New Swimsuit For The Coming Summer Season

-Easter Outfit

-Bubbles

-Kite

-Playdough (Learn how to make your own HERE)

-Flubber (Learn how to make it HERE)

-Stuffed Animals

-Bath Time Toys

-Outside toys

-Fill Plastic Eggs With Tastey Snacks (goldfish, Cheerios, etc)

-Sippy Cup, or Character Cup For an Older Kid

– Movies

– Hair Clips/Bows (This is where I get mine- F&F Creations– She does great work, and will do custom orders!)

– Stickers

-Plastic Eggs Filled with Little Toys

These Worksheets

-New Toothbrush

-Toothpaste

The possibilities are endless! Let’s try not to stuff our kids full of sweets this year!

And here are some great crafts and activities I’ve come across– Lots of Easter fun!!

Felt Easter Birdy

Paper-Napkin Decoupage Eggs

Easter Egg Coloring Tips

25 DIY Easter Projects

101 Easter Craft Ideas

Temporary Tattoos on Eggs

Easter Egg Hunt Activities

Bubble Wrap Easter Eggs

Plastic Egg Animals

HAVE FUN!!!

4 Comments »

Easy Fabric Flowers!


My friend Sara Gambino taught me how to make these great fabric flowers. (Check her out, she’s awesome! Hair By Sarah Gambino or Her Facebook Page).  When I realized how easy and super cute they were, I just had to share!

It took me about 10-15 minutes to make one– Like I said, SO SIMPLE!


Here’s how you do it…..


Pick your fabric. You don't need much (depending on the size of flower you plan on making) For this one, I made a small flower that I want to attach to the dress I made the other day.

Find a circular object to trace. Like I said, this was a small flower so I grabbed an old cup. For bigger ones, I use a bowl or a coffee filter.

Trace circles onto your fabric. For small flowers I use 3 circles, and for bigger ones I use 4.

I use a sharpie to trace, but if you have a fabric pencil or something you'd rather use then go for it! You won't end up seeing any of the ink once it's all put together

Cut out your circles

And now cut those circles in half

Now fold each piece in half again, with the outside of the fabric showing

And sew along the straight edge. You could definitely hand sew this, I just LOVE my sewing machine 🙂

Sew each piece

And then turn them right side out. Use a blunt object to gently press out the corners. These are our petals!

Now to sew them all together. We'll sew them along the curved edge

Gathering them like this

or this... I couldn't decide out which angle would best show how to sew them, so I'll post both 🙂

You'll end up with a nice little chain of petals

Pull both ends tight, and tie them together. And VOILA! you have a fabric flower. At this point you could leave it as is, or sew a cute button or rhinestone in the center

Aren't they adorable! You can attach them to clothing, put them on a hair clip or headband, the possibilities are endless!

I love these! Pretty soon all of Linnaea’s clothes are going to be decorated with flowers! Thanks again so much Sara! (And seriously, you guys need to go check out her website, she’s great!)

Leave a comment »