I am the official Thanksgiving pie baker in our family. Every year, I like to try out a few different recipes. This year, we have several family members who, for various reasons, have gone gluten-free. It has been my mission to find a gluten-free pie crust recipe, so that everyone could enjoy some tasty dessert! To have a little fun, we decided to gather everyone together and have a little taste test of 4 different gluten-free options. It was a totally blind taste test, and then we all rated the pies based on taste, texture, how it held together, appearance, and how we like the pie overall. We certainly had a blast, and now I am excited to share those results with you!! Hopefully this will help you choose the perfect gluten-free crust for your holiday pies!
1st Place: Paleo Pie Crust
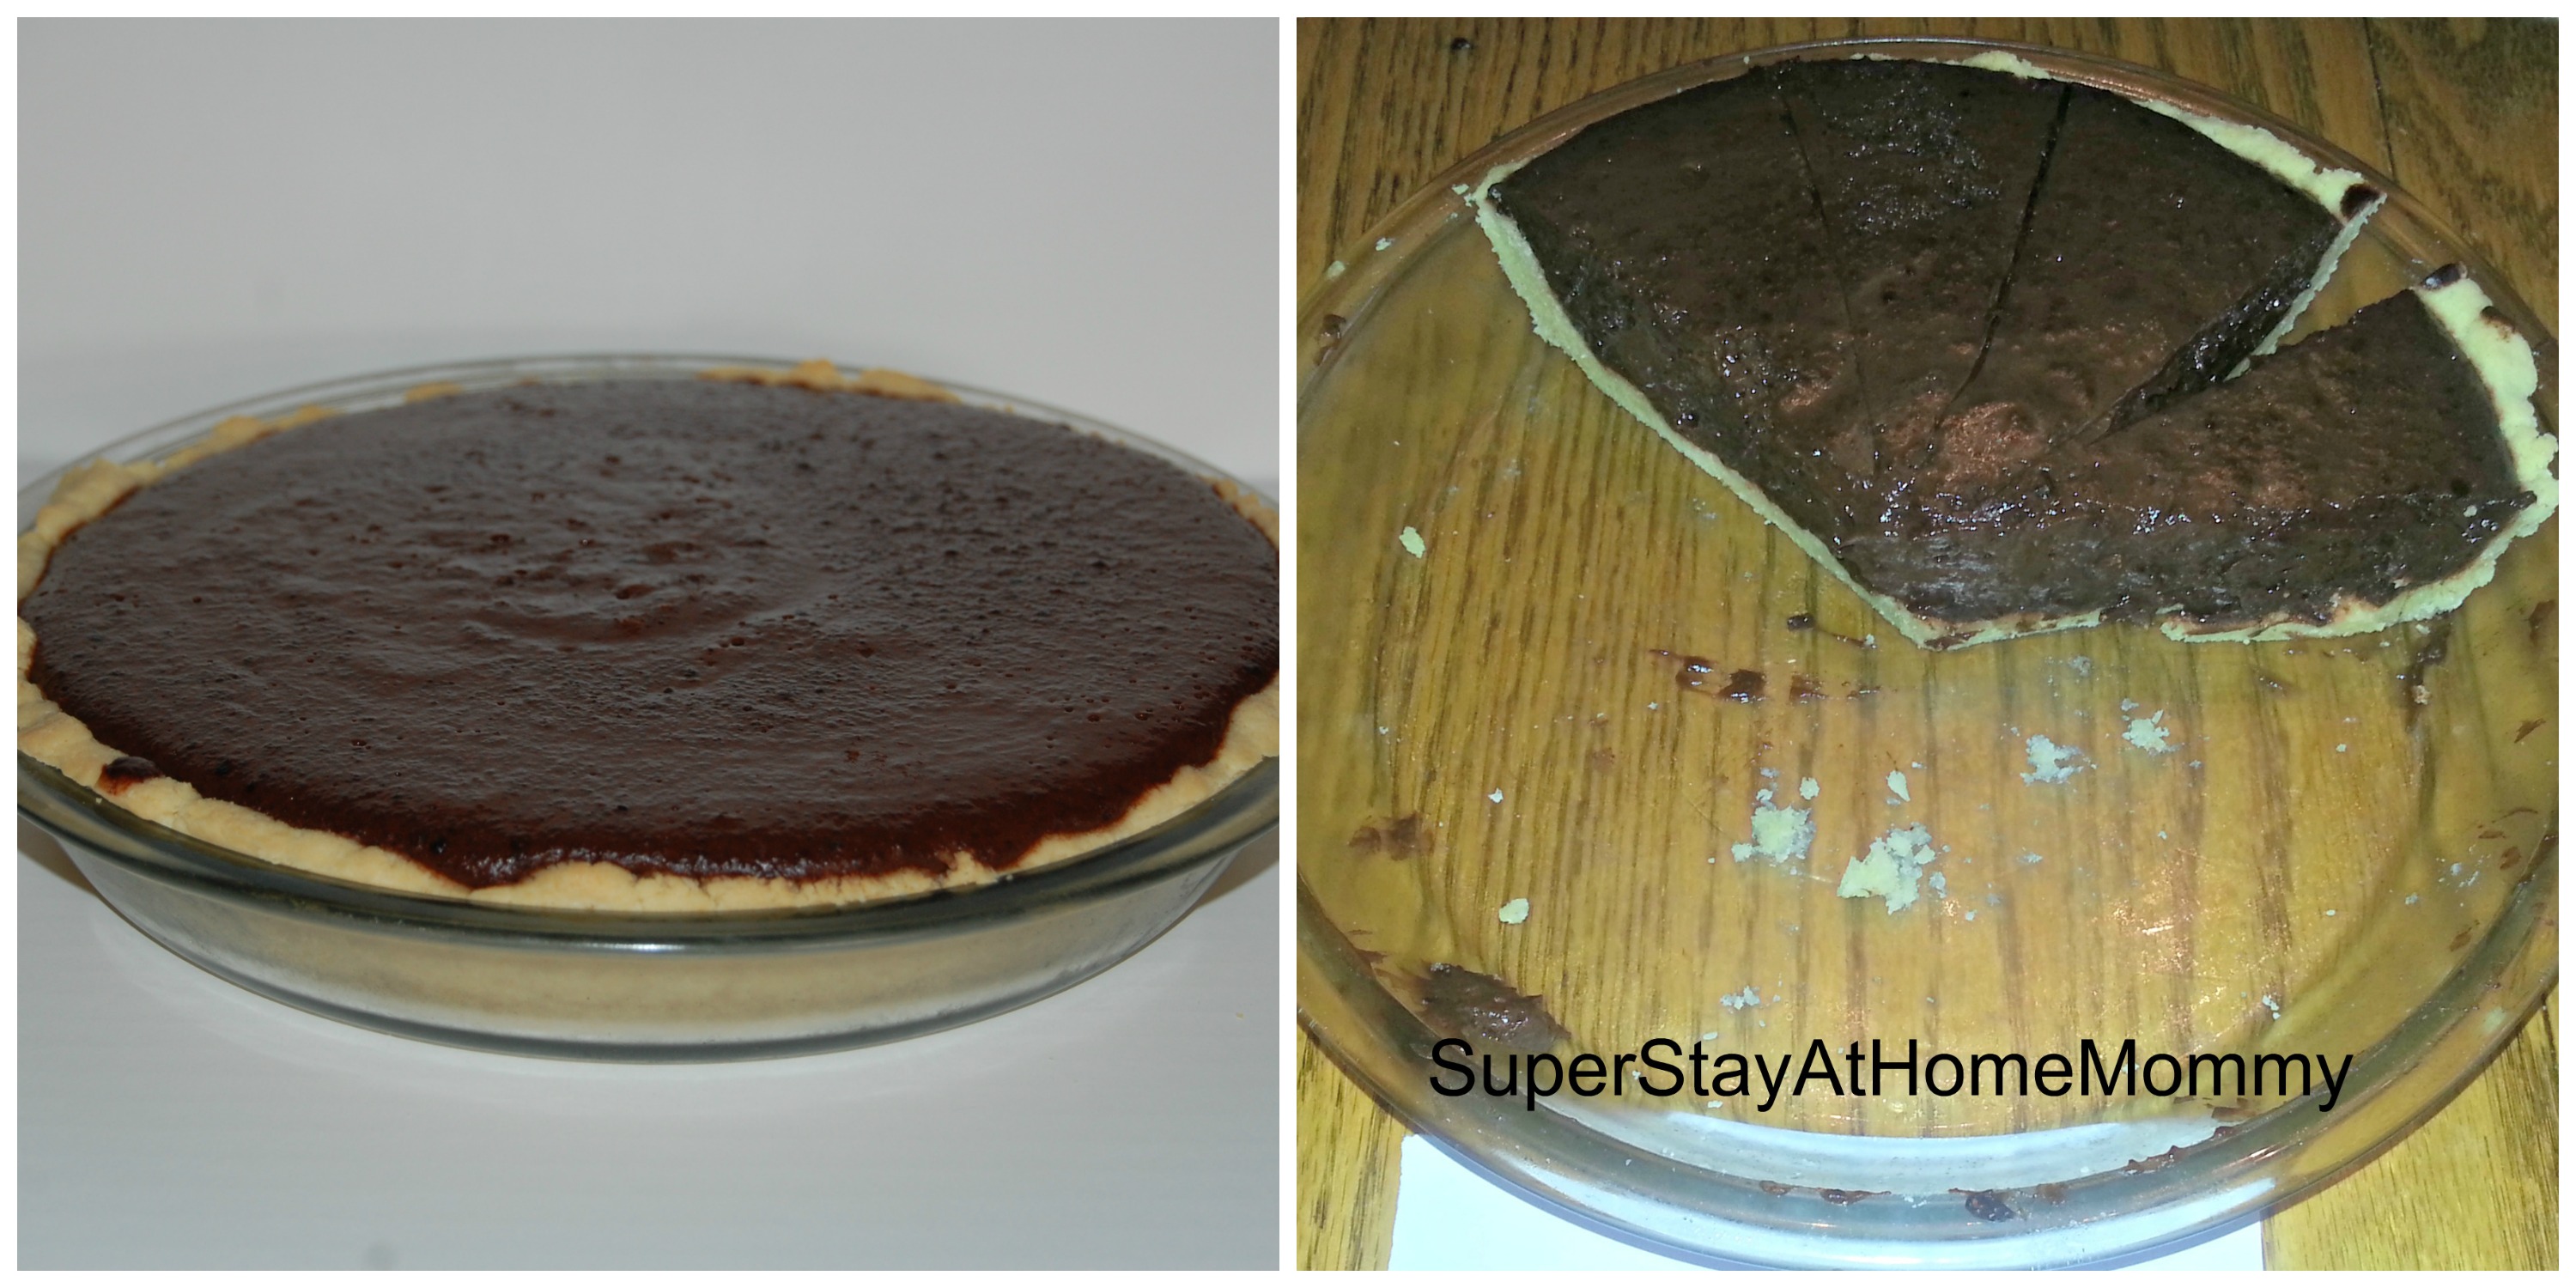
I filled this one with a dark chocolate and coconut pudding.
This pie crust is made with just 4 ingredients- the main component being almond flour. It is pressed into the pie pan, and I found that it was probably the easiest overall to make. It cut apart easily and held together incredibly well. As an added bonus, with the right filling this would work as a low carb crust as well!
Here’s our score breakdown (A total of 35 points possible in each category):
Taste: 33/35 points, 94%
Texture: 30/35 points, 86%
How it held together: 34/35 points, 97%
Appearance: 33/35 points, 94%
Overall: 34/35 points, 97%
Altogether, that brings this pie crust’s official score to: 94%!!
2nd Place: Gluten Free Pie Crust
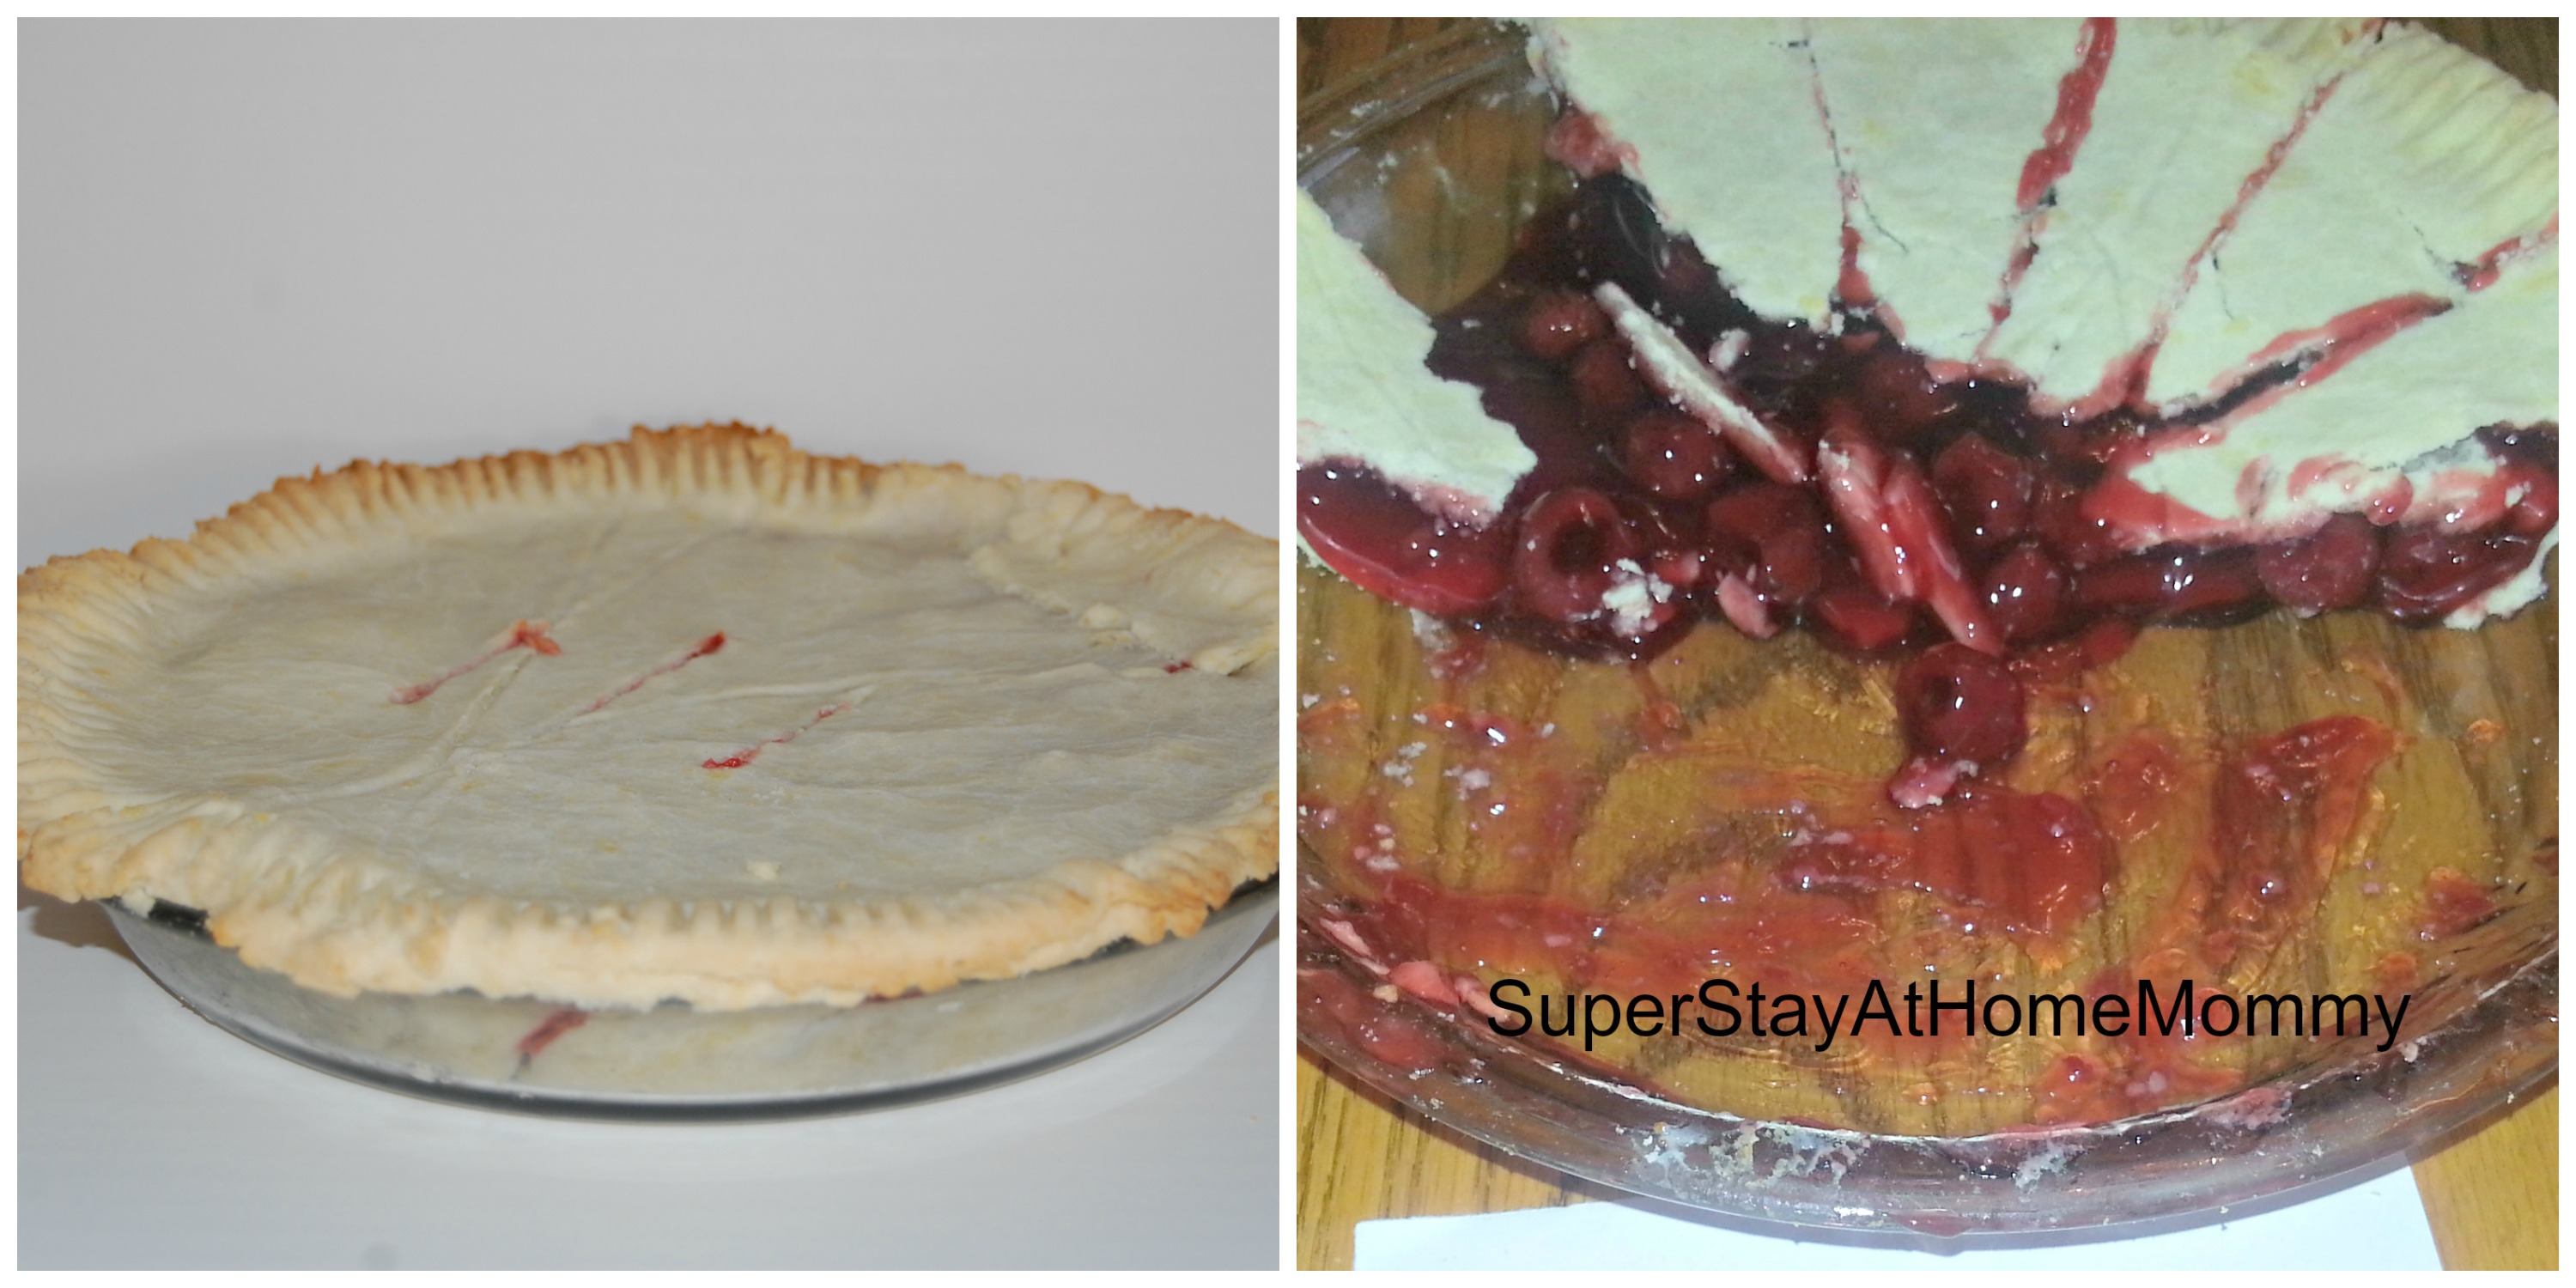
This pie was filled with canned cherry pie filling.
This crust was made using gluten-free flour. The main ingredients in gluten-free flour include rice flour and tapioca flour. It was the only crust that was rolled out with a rolling pin, and, therefore, could have both a top and bottom. To me, it was the one that most resembled a typical pie. We did find that it was a little difficult to cut, which lead to difficulties scooping it out of the pie pan (and therefore lowering its’ score for “how it holds together”). That could, in part, have to do with the fact that the recipe did not include a cook time, so I sort of had to wing it. I ended up cooking it for 30 minutes, which may have been a touch too long, making the crust a little tough.
Here’s our score breakdown (A total of 35 points possible in each category):
Taste: 28/35, 80%
Texture: 29/35, 86%
How it held together: 31/35, 89%
Appearance: 28/35, 80%
Overall: 28/35, 80%
Altogether, that brings this pie crusts official score to: 86%
3rd Place: Paleo Pecan Crust
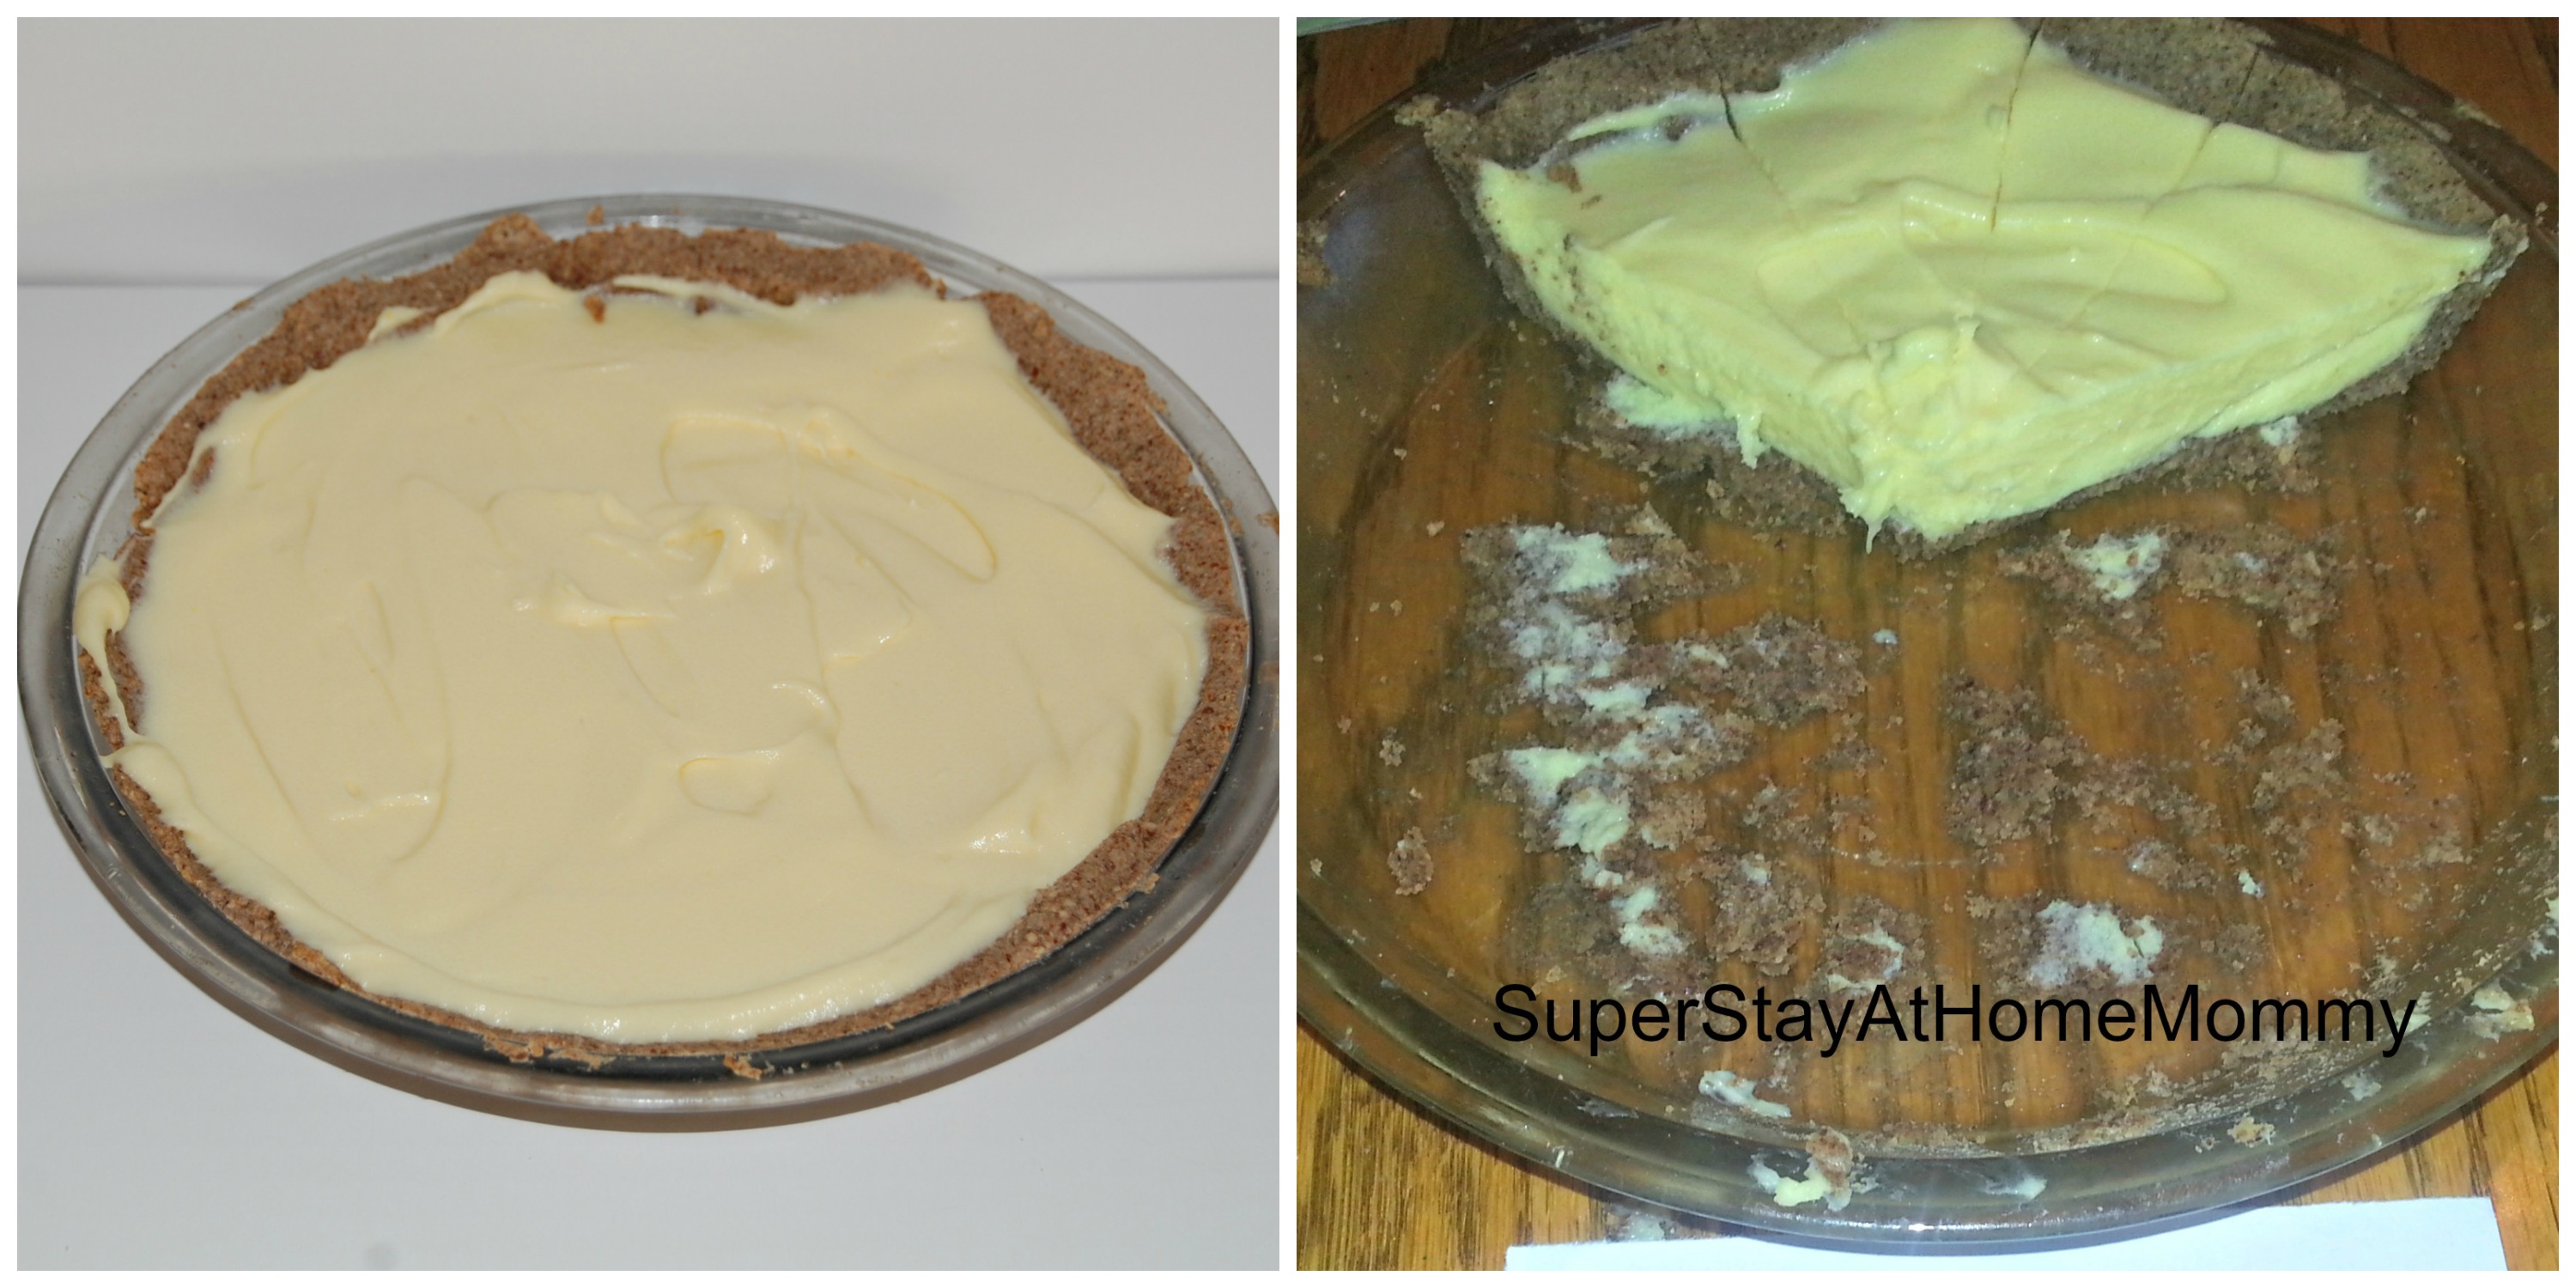
Cheesecake!
This crust is also just 4 ingredients! Its main ingredient is ground pecans. Because of the crumbly nature of the crust, it did not hold together as well, but the flavor is great (as long as you enjoy pecans). I found it to be the perfect crust for a cheesecake. This is also a great low carb option!
Here’s our score breakdown (A total of 35 points possible in each category):
Taste: 26/35, 74%
Texture: 28/35, 80%
How it held together: 19/35, 54%
Appearance: 30/35, 86%
Overall: 25.5/35, 73%
Altogether, that brings this pie crusts official score to: 73%
4th Place: Gluten Free Sugar Cookie
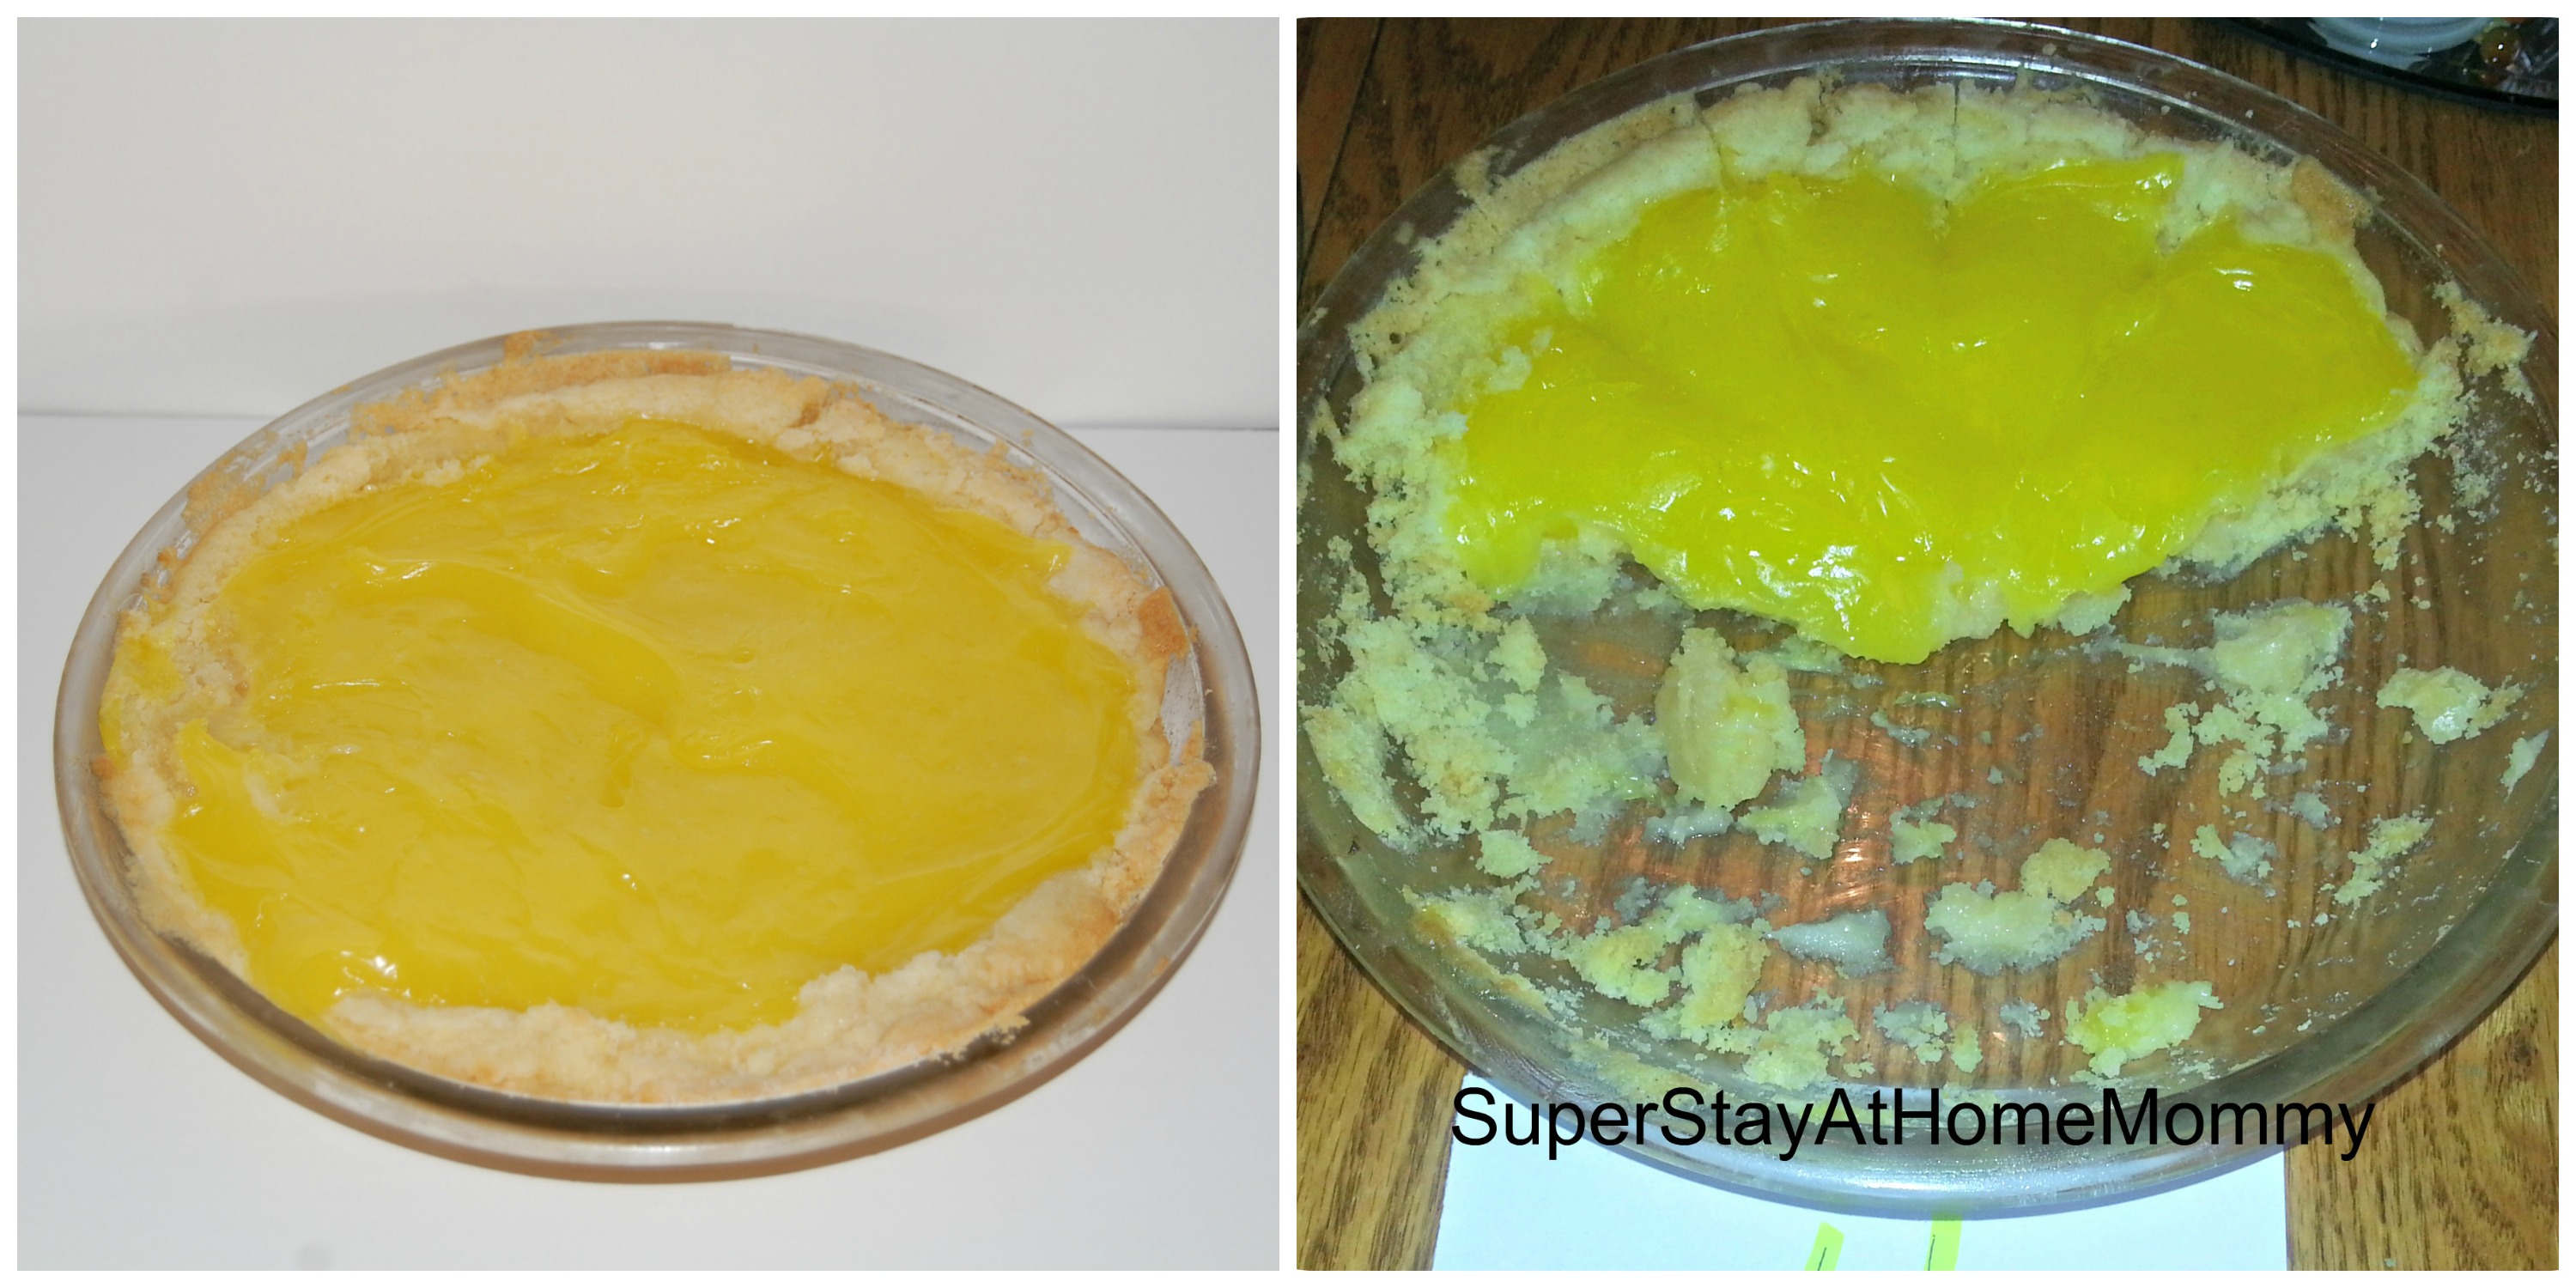
For this one, I used a canned lemon filling
The fact that this came in last place was honestly no surprise to me. It was sort of an experiment after I failed to find my original 4th option in the store. Ideally, I wanted to get the Pillsbury refrigerated gluten-free pie crusts. However, I could not find them anywhere in the store. So, as a Plan B, I went with a gluten-free sugar cookie baking mix by Betty Crocker. There were extreme mixed reviews on this pie. Some loved it, others (myself included), not so much. I’ll let the number speak for themselves…
Here’s our score breakdown (A total of 35 points possible in each category):
Taste: 28/35, 80%
Texture: 21/35, 60%
How it held together: 18/35, 51%
Appearance: 24/35, 69%
Overall: 24/35, 69%
Altogether, that brings this pie crusts official score to: 66%
Now, to take these results and figure out what I’ll do for Thanksgiving…
And if anyone finds one of those Pillsbury gluten-free crusts, I’d love to know how it tastes!
***Because this was solely for the purpose of crust tasting, I took the easy way out on the filling…. If you’re looking for a great homemade filling for your pie, here’s a few of my favorites!
– Pineapple Upsidedown Pie
–Cranberry Cherry Pie
–Pumpkin Cheesecake Pie


